

Warmer days are coming, which means the time will soon come for dewinterizing your RV. If you winterized your RV and stored it away, start preparing for its dewinterization.
To dewinterize an RV you’ll want to check 5 main components:
- tires
- battery
- water system
- propane tanks
- engine
The process to dewinterize a trailer is a bit different than that of a camper.
Dewinterizing an RV
Winterizing an RV is as easy as PIE — Plumbing, Interior, Exterior — and so is dewinterizing a camper or trailer. Let’s break it all down.
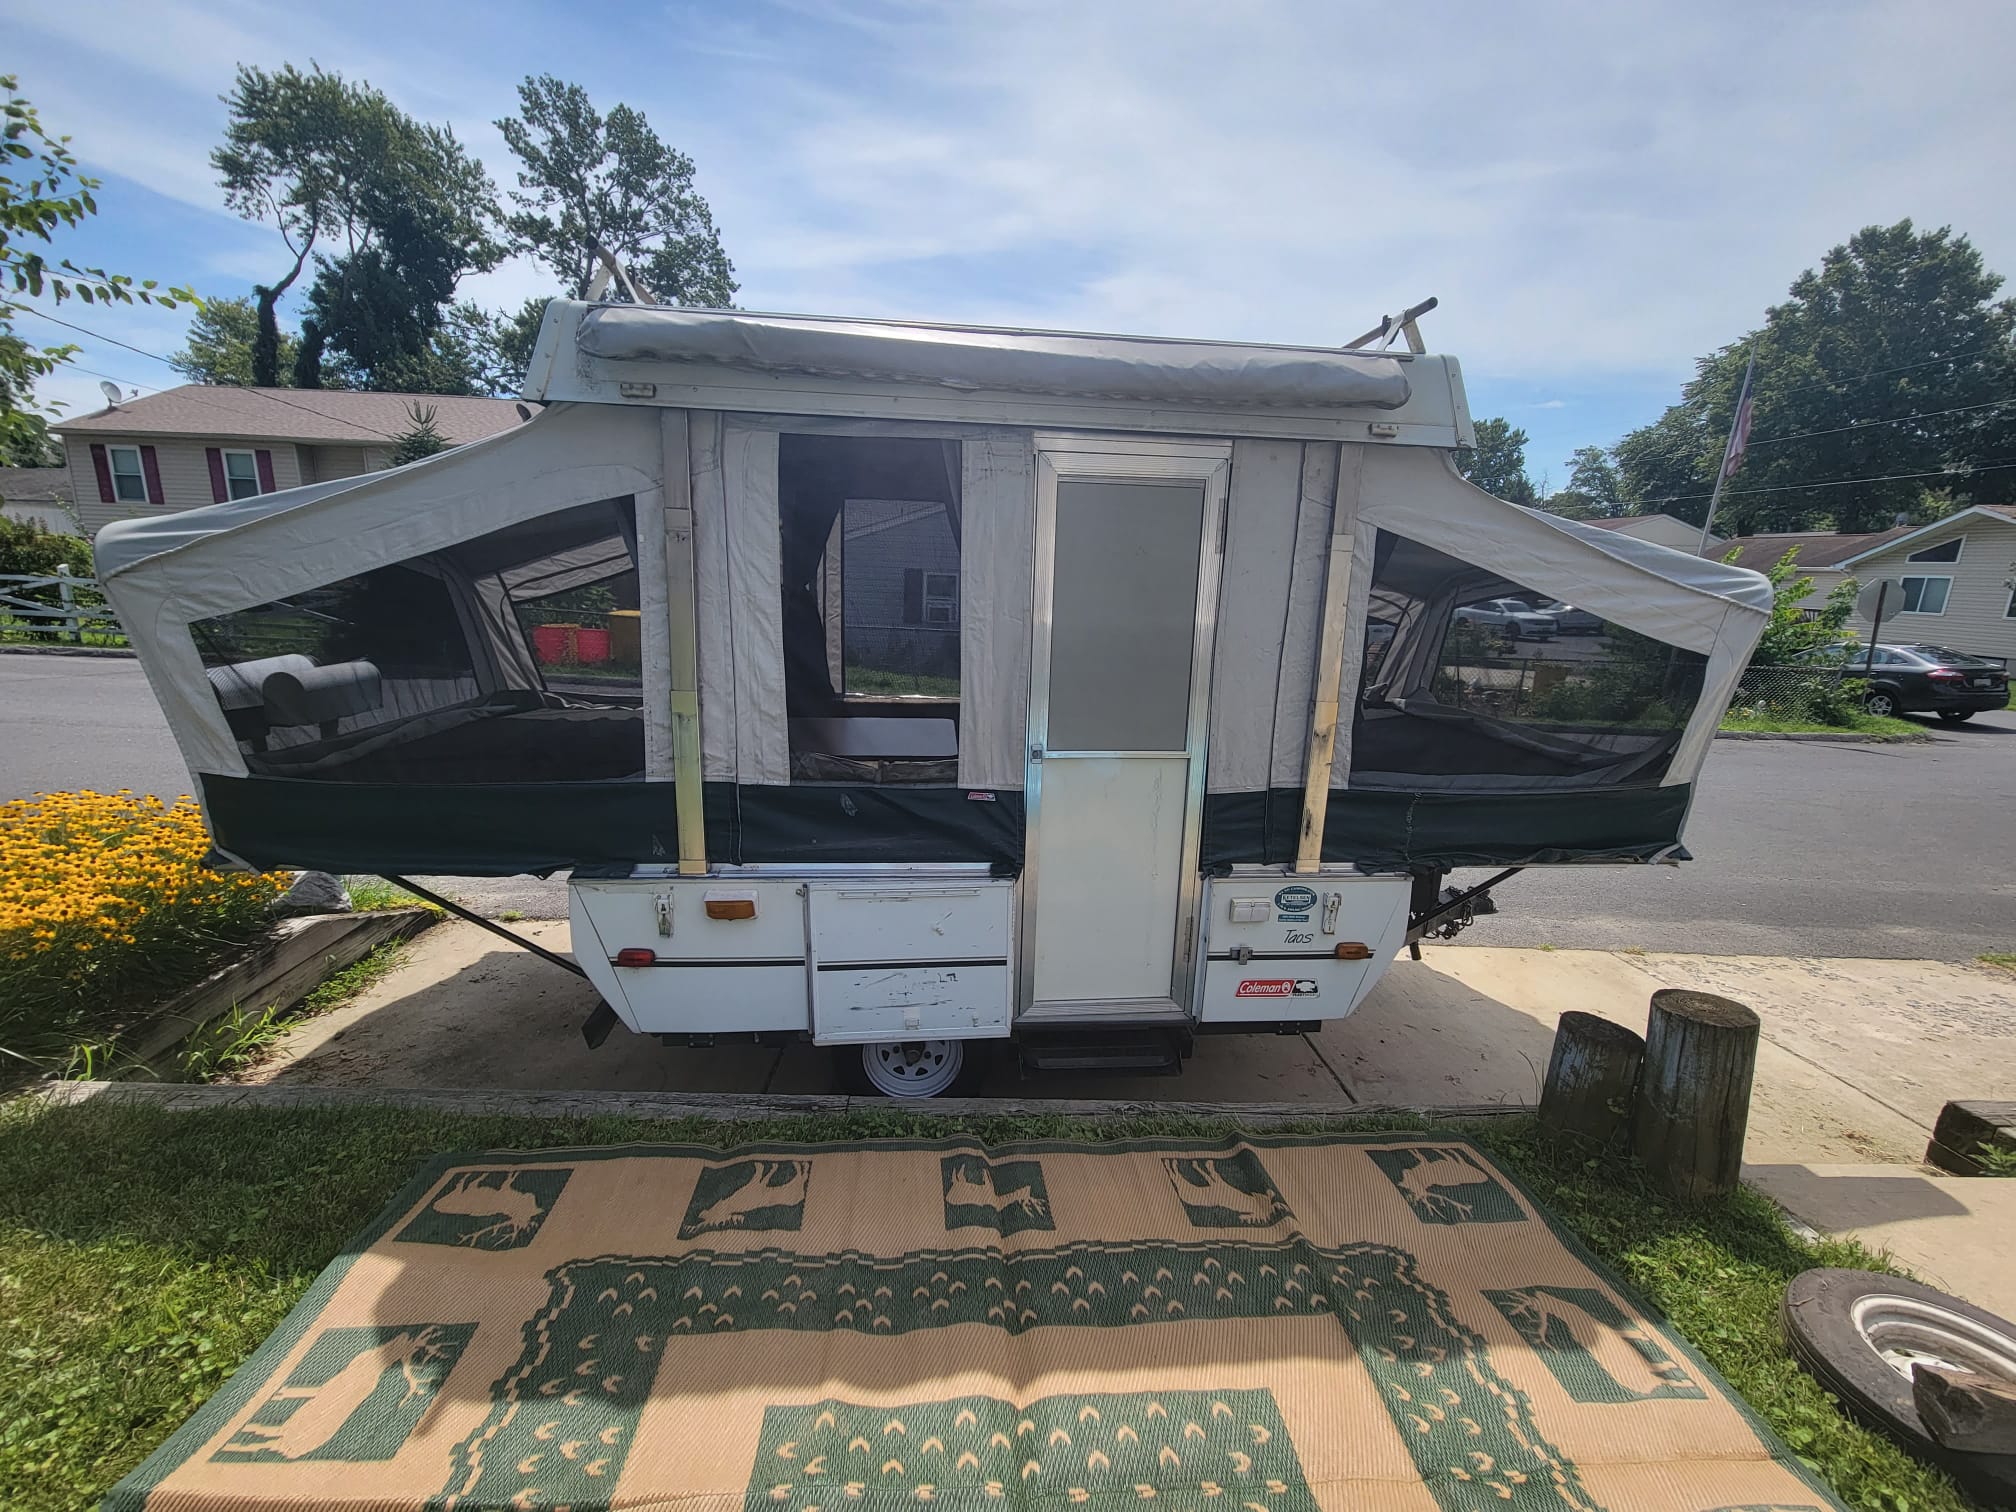
How to Dewinterize a Travel Trailer
Dewinterize a trailer in 6 easy steps:
- Check the tires
- Examine the exterior
- Recharge and reinstall batteries
- Flush and sanitize water tanks
- Reinstall propane tanks
- Inspect the interior

Check the Tires
If you had your trailer stored away during the winter months, your tires will have lost a little air pressure each month. The loss of air will be more significant if the RV was stored outside or in the cold. Driving with underinflated tires can lead to poor handling, uneven wear, or a blowout.
Use a tire pressure gauge to check the psi and reinflate the tires and spare to the recommended pressure for your RV. If you are unsure what the right psi for your rig is, check your owner’s manual!
While you’re at it, check for signs of wear. It may be time for a new set of RV tires.
Examine the Exterior
Inspect the outside of your RV for any damage that may have occurred.
- Check for water damage, leaks, and cracks.
- Make sure your weatherstripping is still in good shape around windows and doors.
- If necessary, reseal any seams.
- Inspect the hitch on your travel trailer for rust or damage.
Recharge & Reinstall Batteries
Your battery power, like tire pressure, will go down every month. Try to periodically charge your RV batteries, to extend their lifespans. Before heading off your first trip of the season, check the charges with a voltmeter.
Recharge all batteries to their proper voltage and then reinstall.
Flush & Sanitize Water Tanks
Getting your plumbing system back in tip-top shape is crucial to dewinterizing your RV. If you winterized your RV, you likely added a non-toxic RV antifreeze to your system. When spring has sprung, it’s time to flush this all out.
To flush your RV water tanks:
- Turn on the water pump.
- Open all faucets and let the water run.
- Flush the toilet a few times.
- When the water is coming out clear, turn off the water and pump.
- Take your heater out of bypass mode, or drain the antifreeze from your water tank.
- Replace water filter cartridges.
- Empty your gray and black water tanks.
Next, sanitize your tanks to remove any mold or bacteria. To do this:
- Close drains and install plugs.
- Mix bleach (1/4 cup of bleach for every 15 gallons of your fresh water tank) and water in a gallon container.
- Add the mixture to the freshwater tank fill.
- Fill the tank with drinking water.
- Turn on the pump and open the faucets.
- When you smell the bleach, turn off the water.
- Let the solution sit for a few hours (no more than 12).
- Drain the water.
- Refill your tank with drinkable water.
- Flush the system by turning on the pumping and opening the faucets until it no longer smells of bleach.
Reinstall Propane Tanks
If your RV uses propane tanks, reinstall those to their mounts and connect the hose.
Inspect the Interior
Now, inspect the inside of your RV, including:
- pipes
- windows
- air vents
- appliances
- safety devices
- supplies
- air and water filters
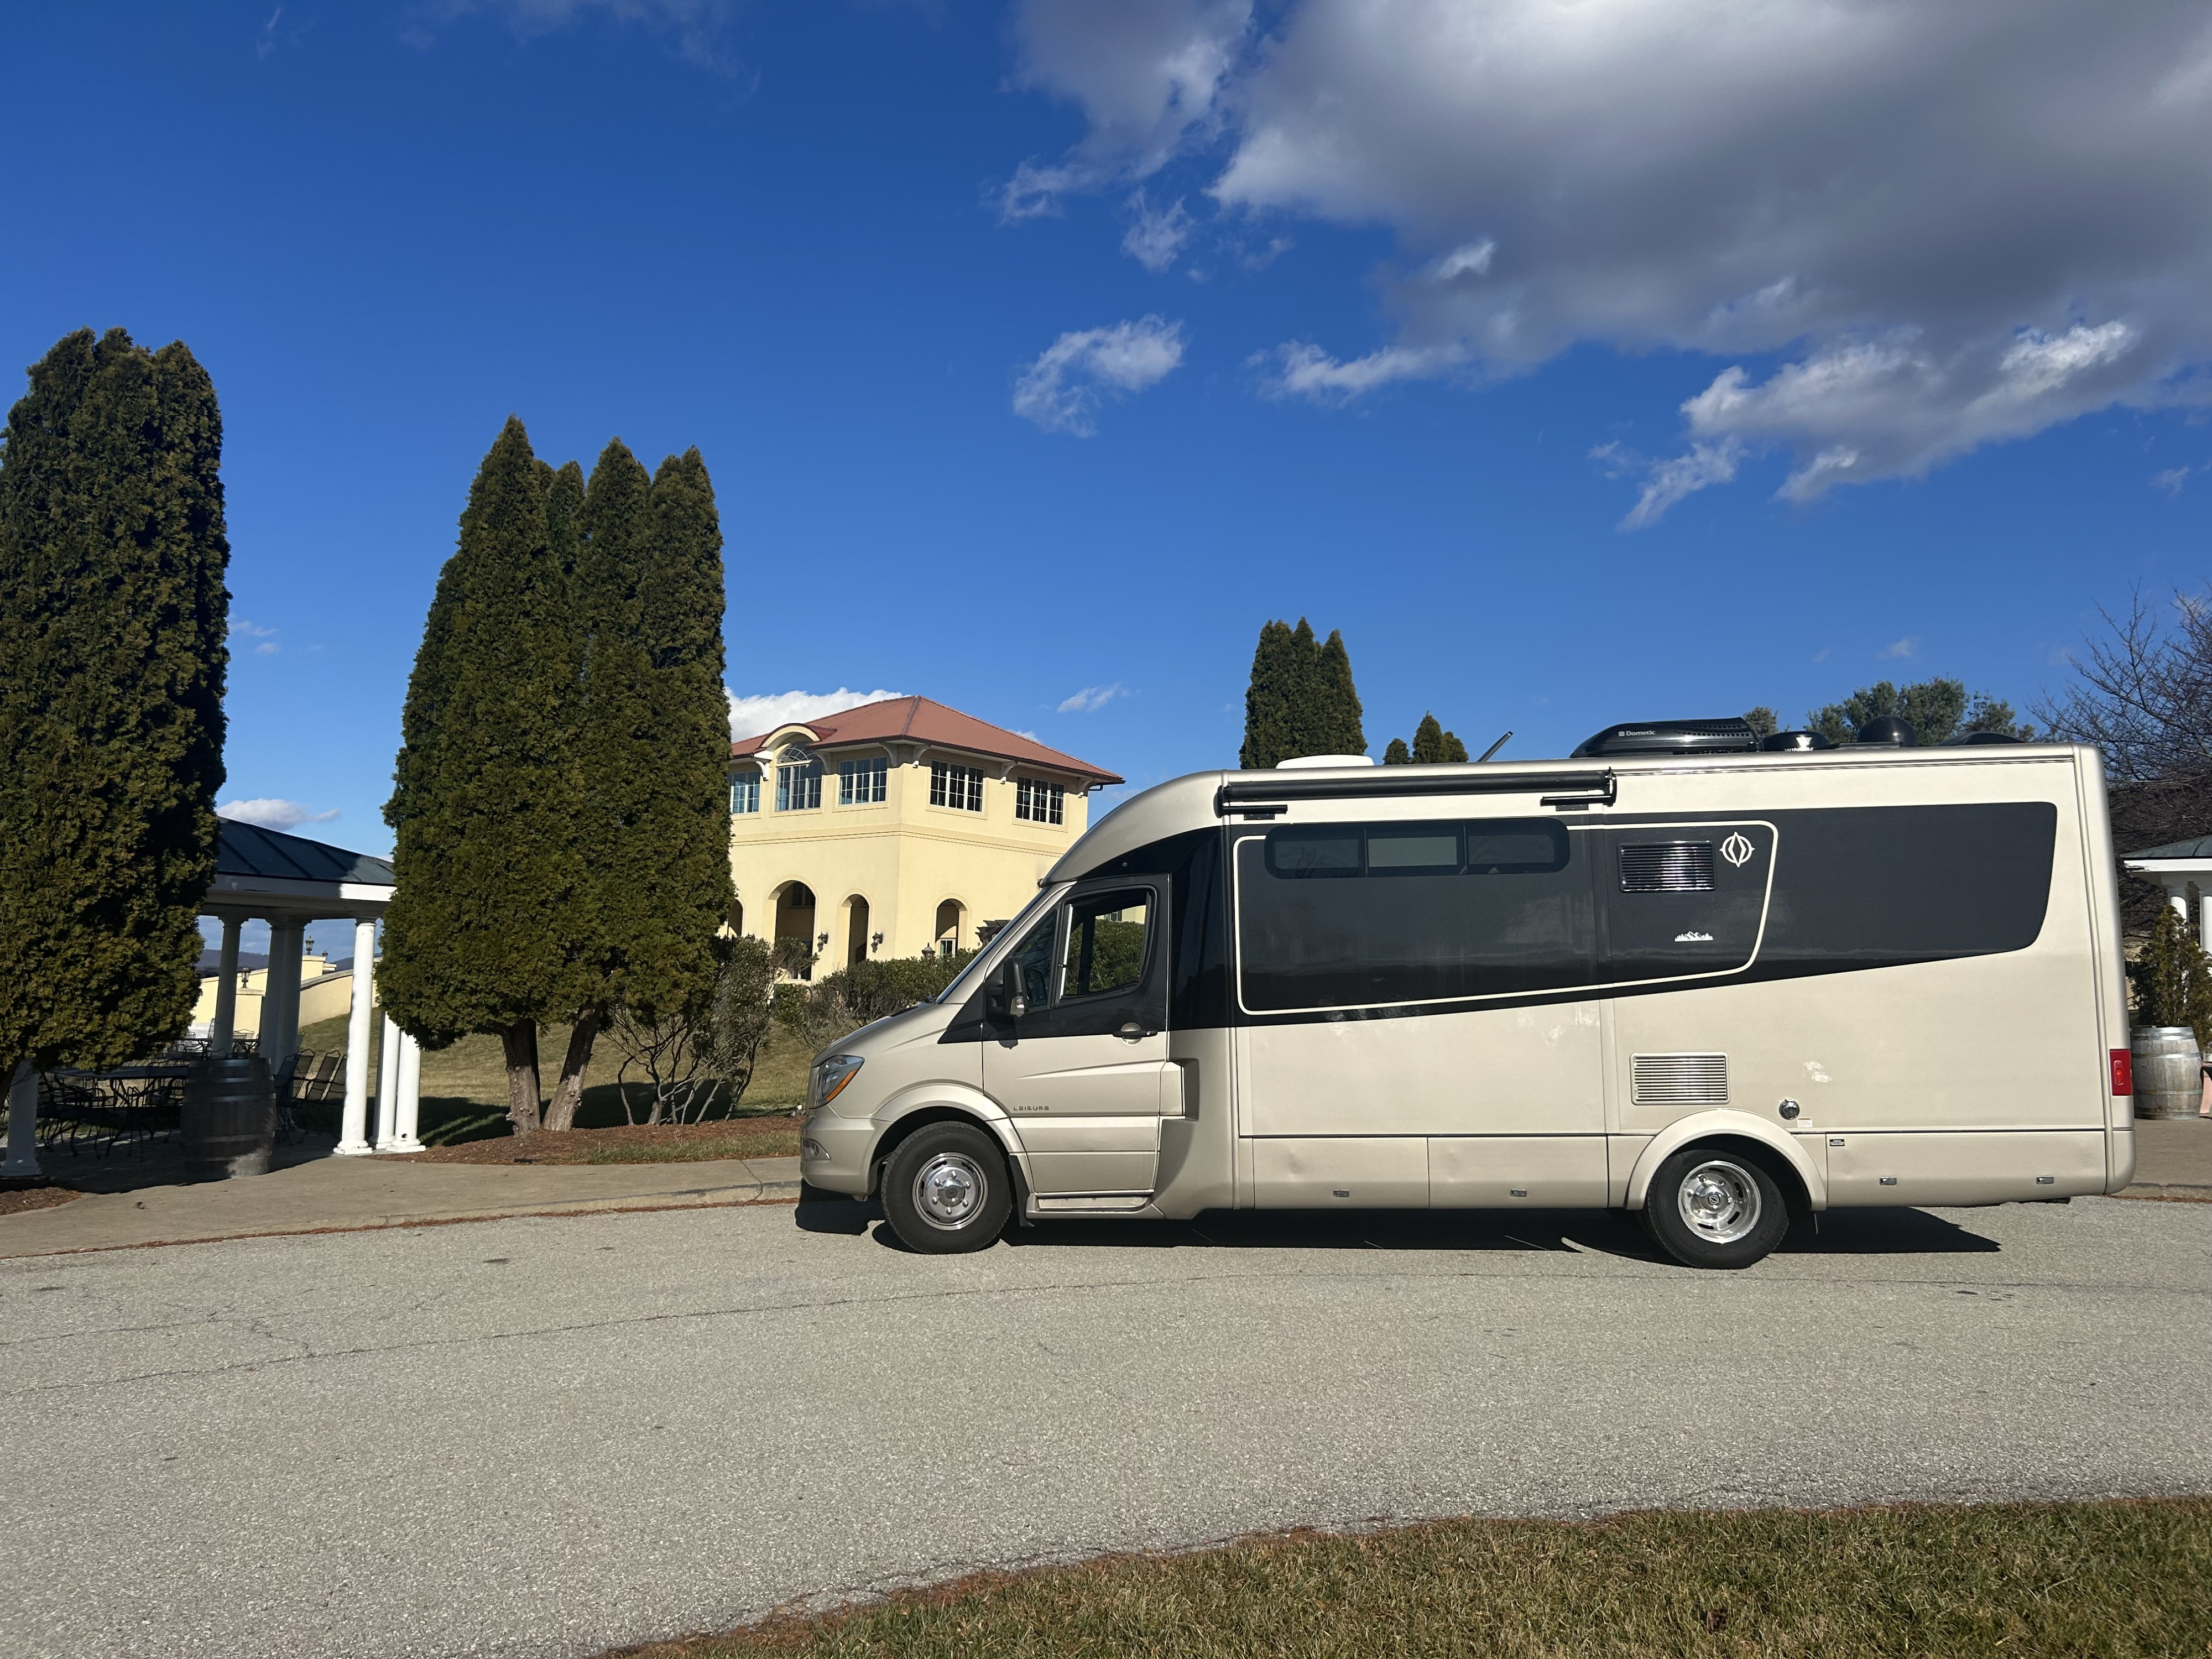
How to Dewinterize a Camper
If you have a driveable RV, there are a few more steps to dewinterize a camper than there are to dewinterize a trailer.
You’ll want to go through the same steps for dewinterizing a trailer, plus two added steps:
- Check the Engine
- Test the Generator

Check the Engine
First, examine all your engine’s fluid levels, including:
- power steering
- transmission
- oil
- brake fluid
- coolant
- windshield washer fluid
Top off any that are low.
Next, turn on the engine. Check all gauges and make sure your lights and windshield wipers are working.
Test the Generator
Before testing the generator, check:
- oil levels
- exhaust system
If levels are good and the exhaust system isn’t damaged, turn on the generator. It should start up easily if you have turned it on periodically while in storage. If not, let it run with a half rated load for a few hours.
If it won’t start or it surges, take it in for repairs.
Registration and Insurance
The last step to dewinterizing your RV for its next trip is making sure your registration and insurance are both up-to-date.
If you have a trailer, you may not be required to have insurance for your RV, but it’s still a good idea. Roamly, our preferred RV insurance partner, has a customized RV insurance plan for any trailer or camper.
Wave Bye to Winter
Once you know how to dewinterize an RV, your rig will be ready for spring in no time! And if you don’t have an RV of your own, but you’re thinking about it, rent a trailer or camper. Don’t worry, these rental campers come dewinterized!
Find your perfect camper or trailer on Outdoorsy, and get ready to wave goodbye to winter.